6 Tips for Controlling Depth of Field
Depth of field (DOF) is one of the most important factors in determining the look and feel of a photograph. It’s also the most overlooked for photographers moving from a point-and-shoot camera to a DSLR camera. With a DSLR, you have a huge amount of control over depth of field, and you should know how to utilize that control.

What is Depth of Field?
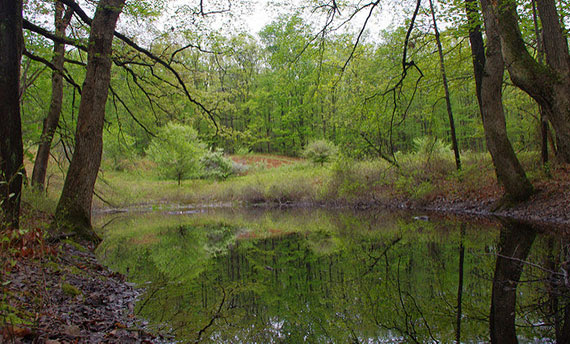
Depth of field refers to the distance (depth) from the focus point that a photo will be sharp, while the rest becomes blurry. A large, or wide, depth of field results in much of the photo in focus.

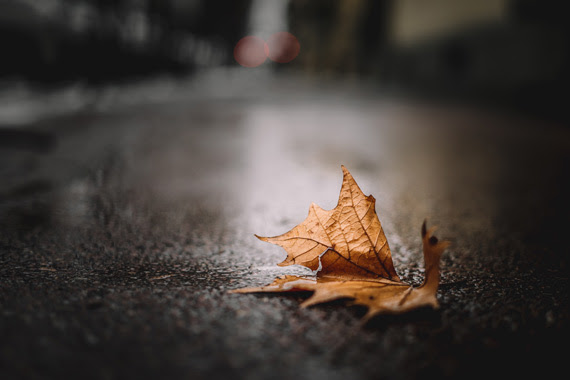
A small, or narrow, depth of field results in much more of the photo out of focus.

Neither approach is better or right, and which depth of field to use is up to you. You may have different reasons for choosing a certain depth of field, including artistic effect, bringing attention to a subject, or crisp representation of a scene.
There are four main factors that control depth of field: lens aperture, lens focal length, subject distance, and sensor size. Your sensor is pretty well set, so you won’t have much luck changing that. Your focal length and distance to the subject are usually determined by your choice of composition. So the lens aperture is your primary control over depth of field.
Before I get to the tips, let’s get a few things straight:
BIG APERTURE = SMALL F-NUMBER = SMALL DEPTH OF FIELD
SMALL APERTURE = BIG F-NUMBER = BIG DEPTH OF FIELD
Aperture Control
Large apertures (small f-numbers) cause a narrow DOF, while small apertures (large f-numbers) cause a wide DOF. To bring attention to a subject by blurring a background (selective focus), shoot with f-numbers like f/2.8, f/4, or f/5.6. To bring the whole scene into focus, shoot with f-numbers like f/16 or f/22.
Avoid Excess DOF
If you want to bring an entire scene into focus and keep it sharp, use a small aperture. But be careful not to go too small. Lens sharpness starts to deteriorate at the smallest apertures. Use enough to get what you want, and no more. You may have to experiment a bit to get a feel for how your camera and lenses work at different apertures.
Focus Point
The DOF extends behind and in front of the point of focus. It usually extends further behind than in front, though. So keep this in mind when choosing your focus point; you’ll want to focus about a third of the way into the scene rather than halfway.
Use a Tripod
As you stop down the lens for greater depth of field, you’re also letting less light into the camera. To compensate for this and maintain correct exposure, you’ll need to either use longer shutter speeds or a higher ISO. The ISO can only be increased so much before noise artifacts become an issue, so you’ll most likely want to lengthen your shutter speed. If your shutter speed is too long, you’ll need a tripod (or some type of stabilization) to deal with this.
DOF Preview
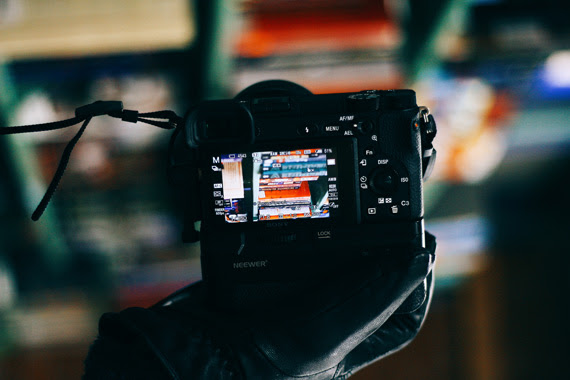
When looking through the viewfinder of a DSLR camera, you’re seeing the world through the lens. You can easily see your resulting composition and point of focus, but the depth of field you’re witnessing is a little false. You’re seeing the resulting depth of field for the largest aperture of the lens, no matter what f-number you’ve chosen. Most newer cameras have a feature called DOF Preview that allows you to stop the lens down to the chosen aperture so you can see the true depth of field.

Focal Length
As I mentioned, your focal length is usually determined by your choice of composition, but you should know how it affects your depth of field. Longer focal lengths (200mm) have less depth of field than shorter focal lengths (35mm). Just keep this in mind when you’re trying to achieve a certain depth of field—you may need to alter your focal length in addition to your aperture.
So there are your basic tips for controlling your depth of field when taking photographs. The best way to learn how to control DOF is to set your camera to aperture priority mode and go take some pictures. Photograph the same subject many different times while altering the aperture, point of focus, and focal length (if you have multiple lenses or a zoom lens). Either write down the settings you used for each picture or use software to view your camera’s settings while you look through the pictures on your computer. You’ll begin to see how these different factors affect your photos.

