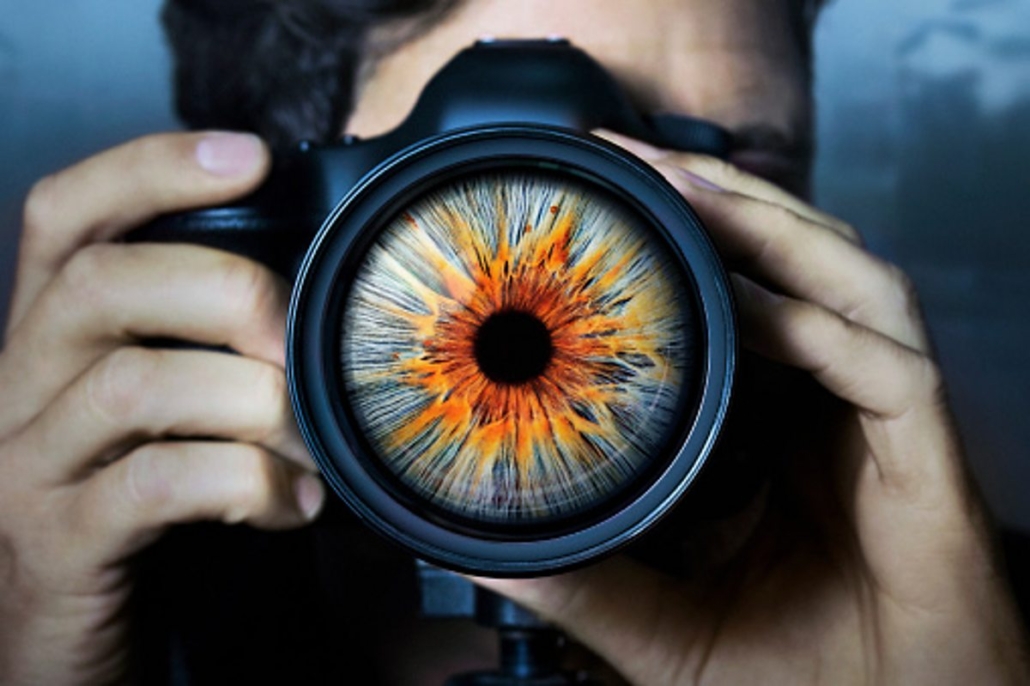
Understanding Computational Photography in Smartphones

Smartphone photography has come a long way since the early days of grainy, low-resolution images. Today’s smartphones are equipped with advanced cameras that rival even some professional equipment. The secret behind this remarkable transformation lies not just in hardware improvements but also in the rise of computational photography

What is Computational Photography?

Computational photography refers to the use of software algorithms to enhance or create images. Unlike traditional photography, which relies primarily on optical and mechanical processes, computational photography leverages the power of digital computation to process images in ways that were previously impossible. This approach allows for features like HDR (High Dynamic Range), portrait mode, and night mode, which enhance image quality and expand creative possibilities.

Key Features of Computational Photography in Smartphones

HDR Imaging:

High Dynamic Range (HDR) imaging is one of the most common applications of computational photography. By capturing multiple exposures of the same scene and merging them into a single image, HDR enhances the details in both bright and dark areas. This results in a more balanced and visually pleasing photograph.

Portrait Mode and Bokeh Effects:

Smartphones use computational photography to simulate the bokeh effect, which traditionally requires a DSLR with a fast lens. By using depth data from multiple cameras or sensors, smartphones can create a background blur effect, making the subject stand out. This feature, often marketed as “Portrait Mode,” is a favorite for portrait photographers.

Night Mode:

Low-light photography has always been challenging, but computational techniques have made it more accessible. Night mode captures a series of images at different exposures and then merges them to reduce noise and improve detail. This results in brighter and clearer images, even in dimly lit environments.

Super-Resolution and Image Sharpening:

Computational photography can also enhance the resolution and sharpness of images. Techniques like super-resolution combine data from multiple images to create a higher-resolution photo. Image sharpening algorithms, meanwhile, can enhance edge details, making the images appear crisper.

AI and Machine Learning:

Artificial intelligence (AI) and machine learning are integral to modern computational photography. Smartphones can now recognize scenes, objects, and faces, adjusting settings in real-time to optimize the shot. For instance, AI can enhance skin tones in portraits or boost colors in landscape photos.

The Impact on Photography

Computational photography has democratized high-quality imaging, making it accessible to everyone with a smartphone. It has also expanded the creative potential for photographers, offering tools and effects that were once exclusive to advanced photo editing software.

However, it also raises questions about the authenticity of images. As software increasingly takes over the image-making process, the line between a captured moment and a digitally enhanced creation becomes blurred. This evolution challenges photographers and viewers to reconsider what constitutes a “photograph” in the digital age.

The Future of Computational Photography

The future of computational photography looks promising, with advancements in AI and machine learning leading the charge. Future smartphones may offer even more sophisticated image processing capabilities, such as real-time 3D scene reconstruction or augmented reality (AR) enhancements. As technology continues to evolve, the possibilities for creative expression in photography are bound to expand even further.

Conclusion

Computational photography has revolutionized the way we capture and perceive images, making high-quality photography accessible to everyone. As smartphones continue to evolve, the boundary between hardware and software in photography will blur even further, pushing the limits of what’s possible. Whether you’re a professional photographer or a casual snapshooter, understanding these technologies can help you make the most of your smartphone camera and take your photography to the next level.

By embracing computational photography, we open up new creative avenues and redefine the art of capturing moments. As we look to the future, it’s clear that this technology will continue to shape the landscape of photography, offering exciting possibilities for both photographers and enthusiasts alike.

Tips for Using Shadows in Photography

Photographers tend to pay a lot of attention to light. In fact, we often think of light as one of the most important aspects of photography. On the other hand, shadows may seem to be less important – simply a lack of light. This would be a major mistake — for light is nothing without shadows.

Shadows are not simply a dark mass that borders the light. Rather, shadows are an entity as alive as the light. It is the shadows that shape the light, draw attention to the light, and integrate with the light to produce striking photographic opportunities. If we are to reach our full potential as photographers, we must think as much in terms of mastering the shadows as we do of mastering the light. This article details five uses of shadows in creating dynamic photos.

  • Contrast and Drama
  • Focus
  • Directing the Attention
  • Revealing Form
  • Revealing Texture
Contrast and Drama

One of the most powerful uses of shadows is for the creation of contrast to produce a dramatic effect. People’s attention is automatically drawn to areas of high tonal contrast. However, tonal contrast can not occur without shadows. Thus, it is the interplay of light and shadows that creates the attention grabbing contrast. An example of this use of shadows would be a dramatic sunset where the sun punches through gaps in the clouds creating areas of light which are surrounded by dark areas where the cloud cover is heavy.

Focus

Shadows can be effectively used to focus a viewer’s attention. The shadows help focus the viewer’s attention by removing detail from the less important parts of the image. An example of this would be a dramatic portrait that uses light to illuminate the eyes of the subject but allows the rest of the face to fall into deep shadow. The shadow would help to hide the detail of the face. Thus, the viewer’s attention would be drawn to the eyes of the subject.

Directing the Attention

Shadows can be used to direct the viewer’s attention. This is because shadows often have a shape. When a shaped shadow points to the center of interest in a photo, the shadow will direct the viewer’s attention to the center of interest. Conversely, the shadows can surround an area of light that points to the center of interest. In either case, the photo is strengthened as the center of interest is reinforced by the use of shadow.

Revealing Form

One of the most common uses of shadows is for revealing form. This often involves the sun, at a low angle to the horizon, casting long shadows across the terrain. Any irregularities in the shape of the subject or terrain will be magnified. An example of this use of shadow would be a low sun casting long shadows across sand dunes just before sunset.

Revealing Texture

Similar to revealing form, shadows can be used to reveal texture. Again, this often involves the sun, at a low angle to the horizon, casting shadows across the subject or terrain. The main difference is that the photographer moves in close to emphasize the texture of an object rather that the form. An example of using shadows to reveal texture would be using setting sun to emphasize the ripples in the sand of a beach.

Summary

Photographers are often urged to learn to read the light. However, reading the light is only half the challenge — one must also learn to read the shadows.

Exposure Compensation: When & How to Use It

Exposure compensation is a feature on many cameras that allows the user to adjust the camera’s suggested exposure settings. It is often used when the camera’s meter doesn’t accurately reflect the scene being photographed (such as snow), resulting in an image that is too light or too dark. By adjusting the exposure compensation, the user can tell the camera to adjust its suggested exposure settings to produce a better-exposed image.

The amount of exposure compensation is usually measured in stops, with each stop representing a doubling or halving of the amount of light. For example, increasing the exposure by one stop will double the amount of light captured by the camera, while decreasing the exposure by one stop will halve the amount of light captured.

When to use it: Exposure compensation is useful in situations where the camera’s light meter may not accurately capture the desired exposure. This can happen when the scene has a high contrast range (such as a bright sky and a dark foreground), when the scene is predominantly white or black, or when the subject is backlit.

How to use it: The process for adjusting exposure compensation varies depending on the camera, but it is usually accessed through a dedicated button or dial on the camera body. Some cameras also allow you to adjust exposure compensation through the menu or by using a touchscreen interface.

Tips for using it: When adjusting exposure compensation, it is important to pay attention to the histogram display on the camera’s LCD screen. The histogram is a graphical representation of the tonal range of the image, with the left side representing the dark tones and the right side representing the light tones. If the histogram is heavily weighted to one side or the other, it may indicate that the image is either over- or underexposed.

Keep in mind that exposure compensation works in conjunction with your camera’s metering modes (evaluative, center-weighted, or spot metering) and will have different effects depending on the mode you’re using. It’s essential to practice and experiment to get a feel for how exposure compensation works with your specific camera and in various lighting conditions.

Understanding Metadata for Photographers

In the digital age of photography, understanding metadata is crucial for photographers who want to manage, organize, and utilize their photos effectively. Metadata is the hidden data embedded within your digital images, providing essential information about the photo. Let’s delve into what metadata is, why it’s important, and how you can leverage it to enhance your photography workflow.

What is Metadata?

Metadata is essentially data about data. In the context of photography, it refers to the information embedded within your digital images that describe various aspects of the photo. This data includes details about the camera settings, the date and time the photo was taken, and even the GPS coordinates of the location where the photo was shot. Metadata is automatically generated by your camera when you take a photo and can be further edited and extended using various software tools.

Types of Metadata

EXIF (Exchangeable Image File Format):

  • Camera Settings: Includes details such as shutter speed, aperture, ISO, focal length, and white balance.
  • Date and Time: Records when the photo was taken.
  • Camera and Lens Information: Brand and model of the camera and lens used.

IPTC (International Press Telecommunications Council):

  • Descriptive Information: Captions, keywords, and titles that describe the content of the photo.
  • Author Information: Photographer’s name and contact details.
  • Copyright Information: Usage rights and licensing details.

XMP (Extensible Metadata Platform):

  • Custom Data: Allows for the creation of custom metadata fields to suit specific needs.
  • Compatibility: Ensures metadata compatibility across different software applications.

Why is Metadata Important?

  • Organization and Searchability: Metadata helps you organize your photos systematically, making it easier to search and retrieve specific images. By adding keywords, captions, and ratings, you can quickly find photos based on various criteria.
  • Workflow Efficiency: Effective use of metadata can streamline your workflow. Software like Adobe Lightroom and Capture One allows you to sort, filter, and edit images based on their metadata, saving you time and effort.
  • Copyright and Ownership: Embedding your copyright information within the metadata ensures that your ownership is recognized and helps protect your intellectual property rights.
  • Geotagging: For travel and landscape photographers, GPS metadata is invaluable. It allows you to map out your photo locations and revisit them in the future or share them with others.
  • Client Communication: For professional photographers, metadata can include client details, project information, and specific requirements, making it easier to manage client shoots and deliverables.

How to View and Edit Metadata

In-Camera:

Some cameras allow you to view basic metadata information on the camera’s LCD screen. However, for detailed metadata editing, you will need to use software tools.

Using Software:

  • Adobe Lightroom: Provides extensive metadata editing capabilities, allowing you to add, edit, and search metadata fields.
  • Adobe Photoshop: Offers metadata viewing and basic editing options.
  • Capture One: Another powerful tool for managing metadata.
  • Free Tools: Software like XnView and PhotoME provide free options for viewing and editing metadata.

Batch Editing:

Most professional software tools offer batch editing features, enabling you to apply metadata changes to multiple photos simultaneously. This is particularly useful for large photo shoots or when organizing your photo library.

Best Practices for Using Metadata

  • Be Consistent: Develop a consistent method for adding and editing metadata. Use a standard set of keywords, captions, and ratings to ensure uniformity across your photo library.
  • Automate When Possible: Use metadata presets and templates to automate the process of adding common metadata fields. This can save you a significant amount of time.
  • Backup Metadata: Always ensure that your metadata is backed up along with your photos. Some software allows you to export metadata separately, providing an additional layer of protection.
  • Update Regularly: As your photo library grows, periodically update your metadata to ensure it remains relevant and accurate.

Summary:

Understanding and utilizing metadata is a powerful way to enhance your photography workflow. By effectively managing your metadata, you can organize your photos better, protect your work, and streamline your editing process. Whether you’re a hobbyist or a professional, mastering metadata is an essential skill that will serve you well throughout your photography journey.

Travel Photography: How to Capture the Character of a Place

Many different elements go into making up the character of a particular destination or location, whether it be a far flung exotic city or your home town. It is the travel photographer’s job to cover these elements in order to present that character to the viewer. This article looks into what goes into bringing the character of a place to the audience.

Essential Elements

There are many separate “parts” that make a location what it is, but these generally boil down to landscape, people, and culture. Let’s look at these in a little more depth.

Landscape

Every city, mountain range, or coastal area has its own unique look and feel. This might be created by architecture exclusive to that part of the world, such as Gaudi’s designs that are so prominent in Barcelona. Or well known landmarks (Eiffel Tower anyone?) or rough seas and steep cliffs like those so characteristic of the northern coasts of Scotland and Ireland. What does it look like in the morning? At night? The location might take on several personalities through the day, so it is essential to capture as many of these as you can to give a broader picture.

People

Possibly the most influential factor in the character of a location is the people who live there. The way they look and dress, the way they carry themselves, the lifestyle they live, and the customs they observe. Is there a particular piece of clothing that defines them? Or maybe a certain characteristic? For example, if they are known to be happy and smiling people, show them as such. If they are known to be hardworking, try to include some shots of workers.

Culture

This can encompass subjects such as food and drink. Local dishes give an immediate insight into the way of life lived by people of a particular place. Freshly caught seafood may be a specialty of the area, or it may be famous for a particular dessert or drink. Culture can also be shown in the festivals and events held in the particular region. This might be an annual parade where locals dress in the traditional costumes of their ancestors or a huge street party that captures the energy and vibrancy of a population.

Putting It All Together

To put these elements in photographic terms, I like to think of the process as zooming in on a subject. Starting with the landscape element described above, you essentially form an overview—or wide angle view—of the subject, capturing surroundings. Distinctive buildings and landmarks give a feel and sometimes instant recognition to the location.

Zoom in to form a collective portrait of the people, their way of life, and daily activities. It is a good idea to use both posed portraits and candid shots to show personalities as well as customs and way of life.

Finally zoom in further to capture details such as local food and dishes and detailed studies of buildings. Text such as in shop signs shows languages spoken. Also, look for any products that are traditional or well known in the area. For example, leather goods from Morocco or electronics from Japan.

Travel photography is, in a sense, a very broad specialization. Possibly not a specialization at all. A travel photographer needs to be a landscape photographer, portrait photographer, still life photographer, and nature photographer—often all in the space of a single shooting session. Learn to cover all these elements within the broader subject, and you are well on your way to becoming a more accomplished photographer.