Swavalamban Art Exhibition @ India International Centre
Swavalamban Art Exhibition Concludes Successfully at India International Centre
‘Swavalamban’ visual art exhibition, organized by Gayatri Luthra and Praketa LUTHRA’s – Moglykids Foundation and supported by SIDBI, concluded successfully on May 31, 2024, at the India International Centre, New Delhi.

The exhibition featured a rich diversity of art, photography, and sculpture by artists from NGOs, differently abled centers, old-age homes, and renowned art houses. Focused on the theme of “Inclusion,” the event provided a platform for artists regardless of caste, creed, socio-economic background, or age.
The highlight of the exhibition was the active participation of children from various NGOs who contributed through live art creation, enhancing the interactive atmosphere. The inauguration ceremony was graced by Dr. Shama Chona, Padma Bhushan Awardee, along with Sidbi General Manager – Shri Ram Meena and Deputy General Manager, Shri Naresh Kumar Solanki, underscoring the significance of inclusive art platforms.

‘Swavalamban’ aimed to bring everyone onto the same platform, creating opportunities for all. This increases exposure, fosters collaboration, and ensures that every individual, regardless of their background, has the chance to thrive. By transforming youth from job seekers to job creators, it targeted the underprivileged and underserved communities, fostering holistic development through creative endeavors.
Gayatri Luthra said “The joy of sharing the hidden and unnoticed creativity of children from Ngos and other underprivileged communities, brought out the power of inclusion & equality. It is what made this Moglykids exhibition a runaway success”

The opening day of the exhibition also showcased the art of music played and sung by children of many schools.
The exhibition’s success is a testament to the power of inclusion and creativity, with Moglykids Foundation and SIDBI extending heartfelt gratitude to all participants, visitors, and supporters who contributed to this memorable event

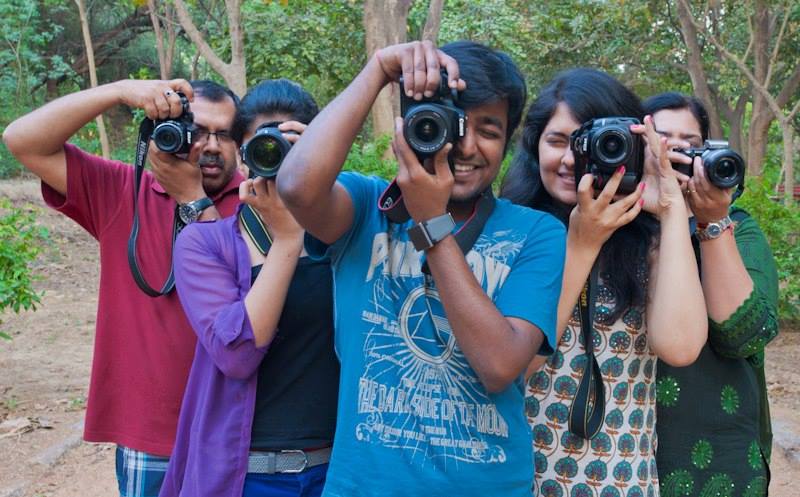
Sanaa , ‘This was my first exhibition ever and I’m so excited. And it’s all Thanks to Virender sir of the Delhi photography club who taught me how to use a camera . All my exhibits were sold. Which was really an big encouragement’