Posts

Street Photography Tips at Night- upgrade your photos.

Taking pictures at night gives an image a completely different feel because it captures different stories of daily life—sometimes more dramatic than the ones captured during the day. There is also a whole new cast of characters at night that make taking pictures on the streets after dark an even more adventurous experience in street photography.
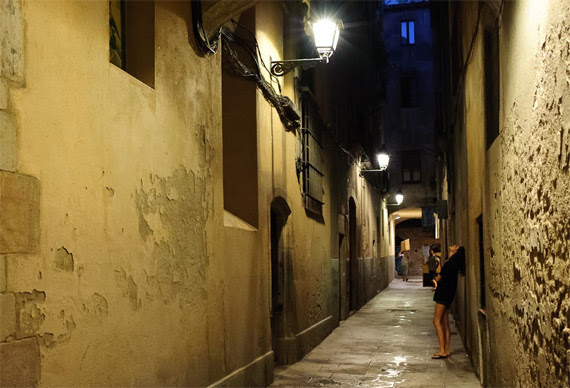
Just by decreasing the available light, we increase the element of mystery in the image. Don’t get me wrong, it could still be an average image. Just because it was taken at night the picture won’t magically become a great photograph, but it might become a little bit more interesting. It may make the viewer ask just a few more questions. And depending on where you are, it may even add an element of danger.

“You don’t have to go looking for pictures. The material is generous. You go out and the pictures are staring at you.” –Lee Friedlander
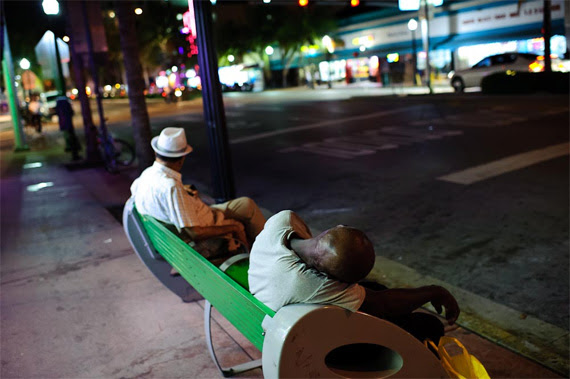
Here are a few tips for taking street photos at night:

1. Don’t use flash

I think this is key for several reasons. First, the ugly artificial light that results from the flash is just too harsh and unnatural. It also calls way too much attention to the photographer, and the idea in street photography is to blend in, not stand out like a lighthouse. Also, people expect the flash to go off after you take a picture at night; when they don’t see the bright light coming from the camera that was pointed at them, they think that you didn’t take a photo and they probably won’t question you. I never use flash when I shoot at night (or day or ever, for that matter). It might take some practice but in a short time you won’t miss it.
2. Increase the ISO

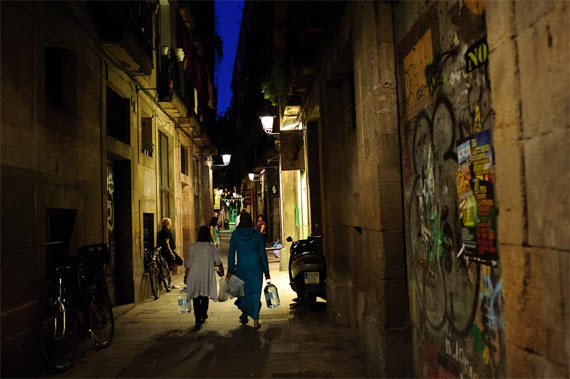
More than a suggestion, this is a necessity. Unless you increase the ISO, the shutter speed might become too slow and the whole picture will be way too blurry to even see what’s going on. As I wrote before, a little bit of motion blur is fantastic and makes for great street photography shots. But if the photo’s too blurry it loses the effect and is just confusing.

High ISO will also give the image some “noise” and it will look grainy, which is a great look for street photography. Make grain and blur your friends, not your enemies.

“New images surround us everywhere. They are invisible only because of sterile routine convention and fear.” –Lisette Model

3. Use available light to your advantage

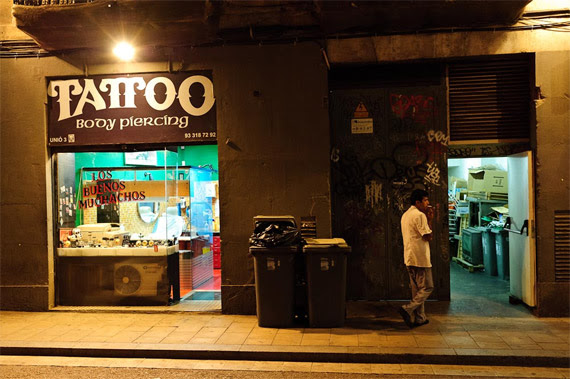
Find a bright corner or a storefront window and position yourself in a way that it will light your subject’s face. Or maybe you want the light to their backs to make them silhouettes. Either way is fine, the choice is yours. It’s all a matter of moving around the light. Find what works and wait for an interesting subject to walk by. Try pointing the camera into the inside of storefronts or brightly lit buses; the light may be just enough to capture great scenes of people unaware that you are capturing the scene.
4. Use fast lenses

Fast lenses, with maximum apertures such as f/2.8 or f/1.4 are great for low light situations. The same thing applies to full frame cameras. Any lens or camera is fine but full frame cameras or fast lenses make things easier because they have a better sensitivity to light. Use what you have and practice and look at the results before you invest your paycheck in a more expensive camera or lens.

“Anything that excites me for any reason, I will photograph; not searching for unusual subject matter, but making the commonplace unusual” –Edward Weston

5. Avoid isolated areas

It’s not necessary to go to a dangerous area to get interesting pictures. Any crowded area will do, especially if you are just starting.
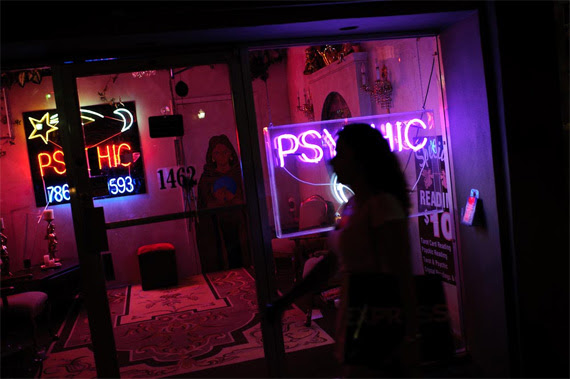
Taking pictures on the streets at night is not the usual thing to do, but if you want to give your street photography a little extra excitement consider going out for a walk after the sunlight has been replaced by street lamps.

Night Photography Tricks: The Fun, the Difficult, and the Magical

Night photography is enchanting, taking us into a world where light dances mysteriously against the vast canvas of the dark. Whether you’re a seasoned photographer or someone just starting out, venturing into the realm of night photography can introduce you to a host of challenges. But with challenges come opportunities for mesmerizing shots that truly stand out. Here are some of the most fun and difficult night photography tricks you can try.

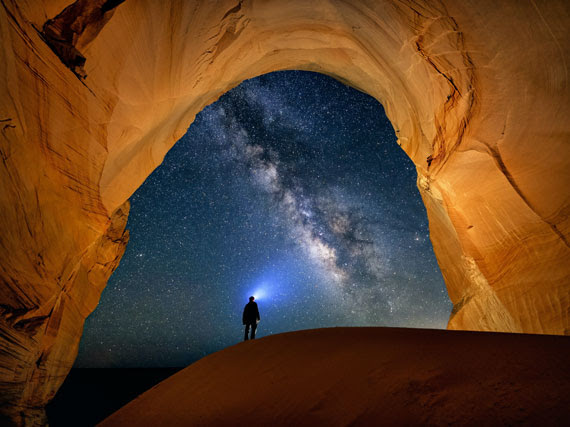
Night Photo captured by Brad West

1. Star Trails

  • The Fun: Capturing the movement of stars as the Earth rotates can result in ethereal images.
  • The Challenge: This requires a clear night, a sturdy tripod, and patience. You need long exposures or multiple shorter exposures that are later combined in post-processing.

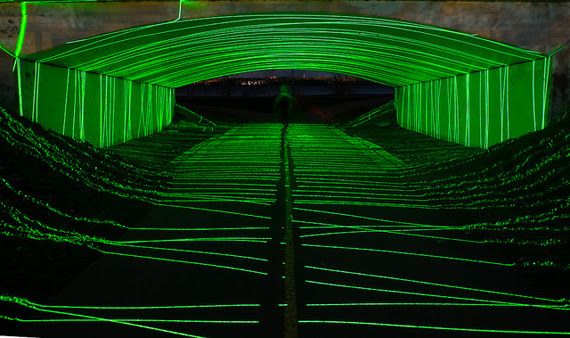
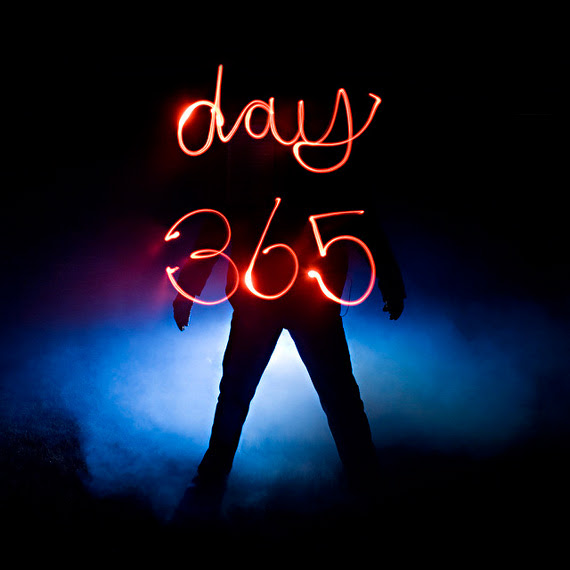
2. Light Painting

  • The Fun: Use flashlights, glow sticks, or any light source to “paint” in the dark while the shutter remains open.
  • The Challenge: Mastering this technique requires understanding the behavior of light, controlling the light sources, and sometimes even choreographing movements.

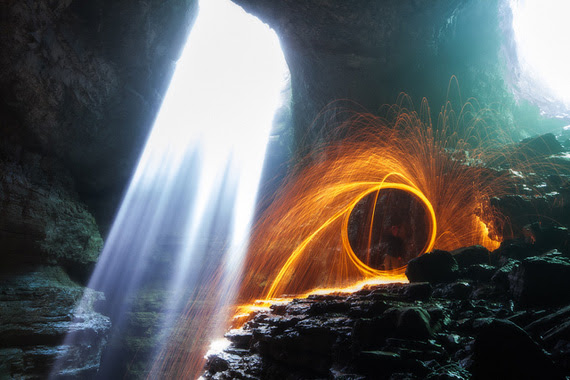
3. Steel Wool Spinning

  • The Fun: Create a cascade of sparks that look like a shower of meteors.
  • The Challenge: Safety first! You’ll be setting steel wool on fire and spinning it, so ensure you’re in a safe, open space, and have a fire extinguisher or water source nearby.

4. Capturing Bioluminescence

  • The Fun: Natural light shows caused by living organisms, like plankton, in the water.
  • The Challenge: Bioluminescence is unpredictable and can be faint, so getting a crisp shot without noise can be tough.

5. Bokeh Shapes

  • The Fun: Transform city lights or distant lights into unique shapes like hearts, stars, or any design you craft.
  • The Challenge: You’ll need to create a custom bokeh filter for your lens or buy one. The real challenge is achieving the right focus and distance for a clear bokeh effect.

6. Time-Lapse Photography

  • The Fun: Compressing hours into seconds, this method showcases the motion of stars, clouds, and cityscapes.
  • The Challenge: Requires patience, a consistent setting on the camera, and post-processing skills to stitch together the images or video frames.

7. Moonlit Landscapes

  • The Fun: Harness the power of the moon to light your landscapes, turning nighttime scenes into dreamy, day-like images.
  • The Challenge: The brightness of the moon can vary, and if it’s too bright, it may overpower the stars. Balancing the moonlight with other elements can be tricky.

8. Neon and Sign Reflections

  • The Fun: After a rain shower, city streets can turn into mirrors, reflecting neon signs and street lights.
  • The Challenge: Finding the right angle and ensuring the reflections are vivid and sharp, not muddled.

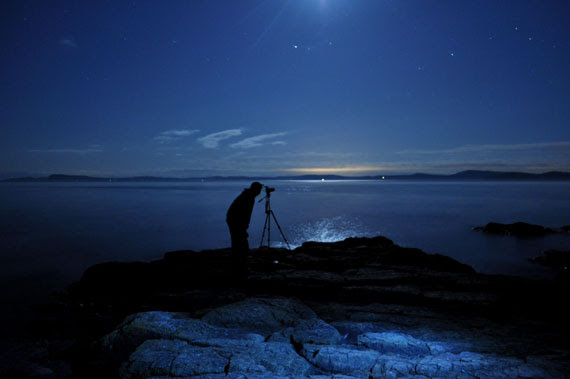
9. Silhouettes and Shadows

  • The Fun: Using sparse light sources, like streetlights or moonlight, to cast dramatic shadows or silhouettes.
  • The Challenge: Getting the right contrast and ensuring the silhouette or shadow retains its shape and detail.

10. Astro Self-Portraits

  • The Fun: Place yourself in the vast expanse of a starry sky or under the arch of the Milky Way.
  • The Challenge: Balancing the light on yourself, often using a dim light source, while keeping the stars or Milky Way prominent.

Remember, the real fun in night photography is in the experimentation. Challenges will arise, but they’re merely stepping stones towards getting that magical shot. So grab your gear, head out under the cloak of darkness, and let the night be your muse.

How to Focus a Camera in the Dark

If somebody asked me about some of the difficult scenarios to work in as a photographer, working at night time would definitely make it to the top of the list. But with the challenge in place, the results that you can get from night time photos are truly amazing. The world out there appears kind of different at night. This gives you an opportunity to create photographs with a unique look. And that’s exactly what makes night photography a challenge worth pursuing.

One of the biggest hurdles you will come across when photographing at night time is focusing. With a minimal amount of light around, the sensor in any camera will struggle to detect any contrast. This is why focusing gets so difficult. So, it becomes important that you’re aware of some techniques to help your camera focus better at night.

Use Center Focusing Point with Single Servo

If you are not comfortable getting out of autofocus mode, try changing the autofocus area to single, and use the center autofocus point. Since the center autofocus point is more precise and sensitive than other focusing points, this can increase your chances of grabbing focus. And to prevent the lens from hunting around, set the drive the single servo. This way, once the camera locks focus, it won’t hunt further.

Manual Focus Works Best

If autofocus fails continuously, it is best to take matters into your own hands by turning the focusing mode to manual. Switch the focusing mode to manual either with a switch on the lens or through the camera menu. Then, using the focus ring on the lens, you can control where the lens needs to focus.

Use the Rear LCD

With the camera set to focus manually, switch your camera over to live view instead of using the viewfinder. This will allow you to use the digital zoom feature and ensure that you nail your focus.

Focus Peaking

Many modern cameras come with a focus peaking option that overlays the area that’s in focus with some color. This makes it much easier to judge whether the image is in focus or not. To get the most out of this feature, use it in conjunction with manual focus and live view.

Use Artificial Lighting Before the Shot

If the scene or your subject is close by, use some artificial source of light like a flashlight to light up a small portion. Then, you can either focus on that portion manually or by using the autofocus feature. If there’s enough contrast, autofocus should work seamlessly.

Light Painting Photography Techniques: 7 Useful Tips

Light painting is a fun photography technique where photographers use camera flashes, flashlights, and spotlights to paint light in a scene. It can easily qualify as the best/most fun night photography technique. Although many photographers have attempted it before, only a few have mastered the technique. Below are some very useful tips to consider when you want to perfect your light painting skills.

1. Try out different light sources

This is very important You shouldn’t try painting everything using the same light. To avoid odd and flat pictures, consider using different light sources, otherwise your work will defy the sole purpose of light painting, which is to create unique light impressions on different landscape parts at night.

2. Use dimmable light sources

For the best results, you need to choose dimmable light sources, because light painting relies heavily on light intensity. To get the best results, you must be able to alter light intensity whichever way you like to ensure every part of a photo gets the right amount of light.

3. Take care of the noise

It is important to note that long exposures create more noise. Because of this, take time painting in light, but don’t forget to factor in this small detail; it can be the difference between good and bad lighting photography.

4. Take multiple shots

To get the best light painting photos, you need to take as many shots as possible. Multiple shots help you treat different parts of a photo separately which should be the case in light painting.

5. Use flashlights that don’t have hot spots

Moving your flashlight beam randomly when taking light photos doesn’t make a big difference even if your flashlight has a hot spot (a bright circle located at the center of the beam). The hotspot does, however, make a big difference when you are considering fine details in scenes. If you don’t have money to buy the perfect flashlight, consider taping tissue paper or wax paper over your flashlight lens to eliminate hot spots.

6. Include night photography techniques

Just because you are light painting shouldn’t mean you forget typical night photography techniques. You must consider techniques like mirror lockup, cable release, long exposure noise reduction, etc., to ensure you get the best outcome.

7. Mix ambient light

You should also remember to incorporate ambient light—like street lights or moon light—to add mood to your photos. Using flashlights shouldn’t mean you ignore all other light sources.

Keep these tips in mind next time you head out for a light painting shoot.